When I started shooting product photos and short videos, lighting was an afterthought. I figured my desk lamp or daylight from a nearby window was “good enough.” That changed completely when this $44 photography light set arrived at my doorstep.
Within minutes of setting it up, I could see the difference — smoother skin tones, true-to-life colors, and a clean, professional glow that made every shot pop.
Why Lighting Matters More Than You Think
Even the best camera or phone can’t fix poor lighting. A good lighting setup controls shadows, contrast, and tone, giving your photos the crisp, balanced look you see in professional work.
Quick snippet answer:
Proper lighting makes your photos sharper, brighter, and more professional — even if you’re shooting with a budget camera or smartphone.
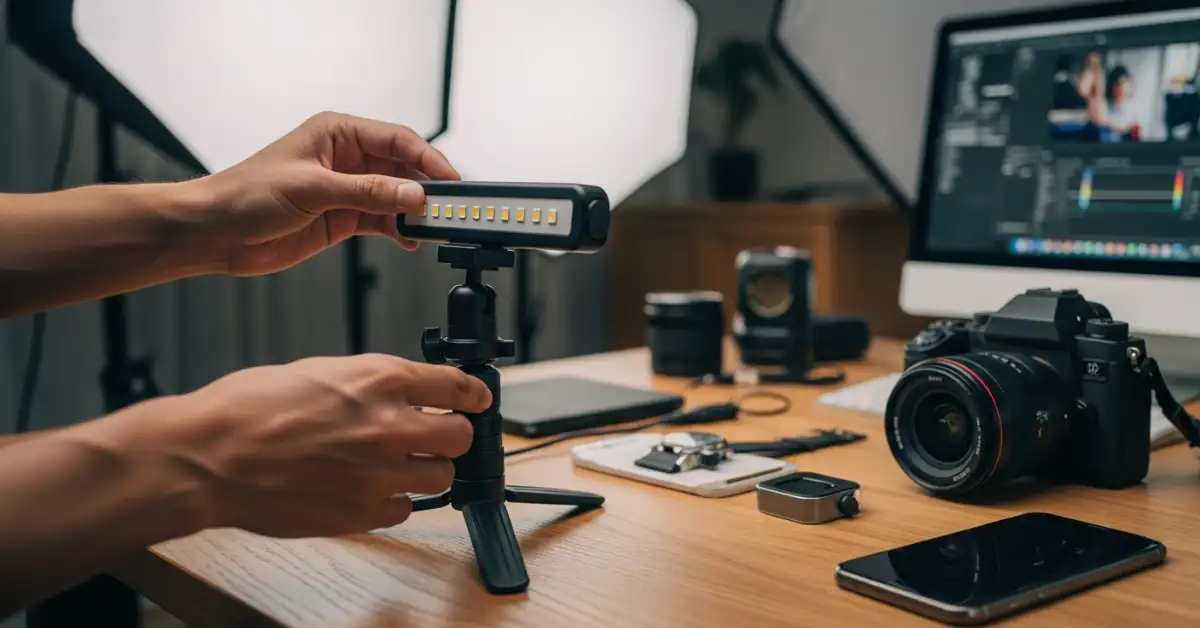
What’s Inside This $44 Light Set
I was surprised by how much value this kit packs for the price. Here’s what came in the box:
- Two adjustable LED panels with color temperature control
- Tripod stands that extend up to 6 feet
- Diffuser filters for softer light
- Power adapters and remote dimming controls
Each light is lightweight, easy to position, and bright enough for both photography and video use.
Real-World Results: How It Changed My Photos
Before this set, my images looked dull and inconsistent — harsh shadows one day, flat lighting the next. After adding these lights, I noticed:
- Sharper product photos with true color accuracy
- Better portrait results without heavy editing
- Cleaner video footage with less grain
Now, whether I’m shooting reels, product demos, or portraits, I rely on these lights daily.
Why Affordable Lighting Beats Expensive Gear (Sometimes)
You don’t always need a $300 setup to get professional results. This $44 set proves that consistency and positioning matter more than brand names.
Example: With proper lighting angles and diffuser filters, even a smartphone camera can mimic studio-level quality.
How to Get the Most Out of Budget Photography Lights
- Use both lights: One as a key light and one as a fill to remove harsh shadows.
- Adjust color temperature: Match the room’s lighting (around 5600K for daylight).
- Diffuse the light: Use soft filters or bounce off a white wall for smoother tones.
- Experiment with angles: Move lights slightly to the side or above for depth and dimension.
Snippet-friendly answer:
To make the most of budget lights, focus on placement and diffusion — not just brightness. Position lights at angles that highlight your subject naturally.
Who This $44 Light Set Is Perfect For
- Content creators: Ideal for YouTube, TikTok, and Instagram videos.
- Product photographers: Achieve professional lighting for eCommerce shots.
- Beginner photographers: Affordable and easy to set up.
- Remote workers: Doubles as great lighting for Zoom or online meetings.
Final Thoughts
I didn’t expect much from a $44 light set, but it completely changed my creative process. My photos now look sharper, cleaner, and more professional — even on a modest setup.
If you’re still shooting with room lights or daylight alone, this might be the single best upgrade you can make. Good lighting doesn’t just brighten your photos — it transforms your entire workflow.
Q1: Are budget photography lights worth it?
Yes. Even affordable LED lights can drastically improve brightness, color accuracy, and consistency in your photos.
Q2: Can I use these lights for video?
Absolutely. They work great for YouTube videos, reels, and Zoom calls thanks to adjustable brightness and color temperature.
Q3: What’s the ideal color temperature for photography?
Around 5000K–5600K — it mimics natural daylight and produces realistic tones.
Q4: How long do these lights last?
Most LED photography lights last 20,000–50,000 hours with regular use.
